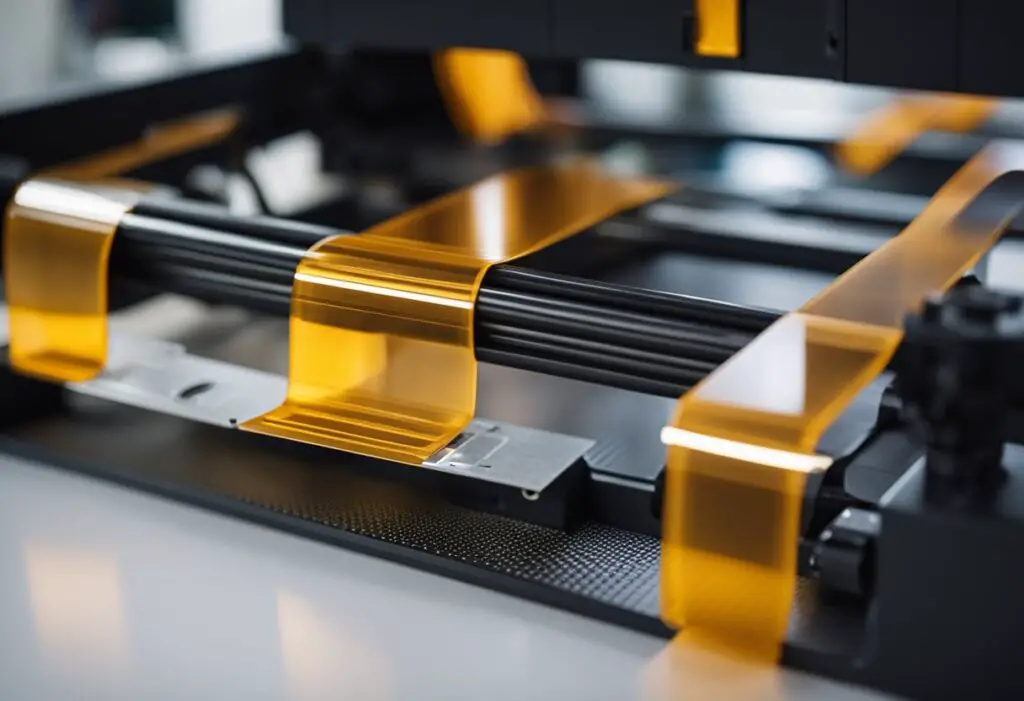
Kapton tape is an adhesive tape that has gained popularity in 3D printing.
It is typically used to create a robust and stable surface on the print bed, ensuring proper adhesion of the printed materials.
This tape is made from polyimide, which gives it excellent heat resistance and electrical isolation properties, making it ideal for use with various types of 3D printers.
Table of Contents
3D printing enthusiasts often choose Kapton tape due to its compatibility with various materials such as ABS plastic.
The strong bond it forms between the printed object and the print bed ensures minimal warping and a smoother printing process.
Moreover, its thermal stability and electrical isolation properties have made it widely used in the electronics manufacturing industry.
Learning how to use Kapton tape for 3D printing can significantly improve the quality of your prints.
Proper tape application ensures a stable and durable surface that promotes adhesion and overall print quality.
By incorporating it into your 3D printing routine, you can enjoy the benefits of this versatile adhesive tape, ultimately enhancing the outcome of your projects.
Understanding Kapton Tape
Kapton tape is a versatile adhesive made of polyimide film. It has gained popularity in various industries, such as the electronics and aerospace industries, due to its unique properties.
Kapton tape is often used in 3D printing to enhance bed adhesion, helping to improve the quality of printed objects.
One of the critical properties of Kapton tape is its high-temperature resistance.
It can withstand temperatures up to 500°F (260°C), making it suitable for extreme heat applications.
This property makes Kapton tape an ideal choice for 3D printers that print with materials like ABS, which require a heated print bed.
The adhesive on Kapton tape is strong, allowing it to bond securely to the print bed surface. However, it also allows for easy removal of printed objects once finished.
The tape can be easily replaced after multiple prints, ensuring your print bed remains in good condition.
In addition to 3D printing, Kapton tape has been widely used in the electronics manufacturing industry for various applications, such as insulation and component protection.
Its lightweight nature and excellent electrical properties make it an ideal choice for these purposes.
Similarly, the aerospace industry has adopted Kapton tape for its heat and stress-resistant qualities.
Using Kapton tape in 3D printing can significantly improve print quality and bed adhesion.
With its impressive high-temperature resistance, strong adhesive properties, and widespread use in numerous industries, it is clear that Kapton tape has many benefits.
When used correctly, this polyimide tape can be an invaluable tool for any 3D printing enthusiast or professional.
Preparation Before Applying Kapton Tape
Before applying Kapton tape to your 3D printer, it is crucial to prepare the print bed properly.
Start by cleaning the bed surface to remove any dust, debris, or adhesives that could affect the adhesion of the tape and the quality of your prints.
Using a scraper, carefully remove any leftover residue from previous prints.
Next, mix dish soap in a container with water to create a soapy water mixture.
Using a cloth or sponge dampened with this soapy water, gently clean the glass plate or bed of your 3D printer.
The aim is to eliminate any oils or contaminants that may hinder the adhesion of the Kapton tape.
After cleaning, rinse the plate thoroughly and dry it with a clean cloth or paper towel. Make sure to remove any water or moisture before proceeding.
For printers with a heated bed, it is advisable to ensure the bed is completely cooled down before cleaning or applying Kapton tape.
This would prevent potential damage to the bed surface or the printer due to sudden temperature changes.
Once cooled, the bed surface is ready for the next step.
Now that the print bed is clean and dry, you can apply Kapton tape.
Proper bed adhesion is crucial to achieving high-quality 3D prints, so taking the time to prepare the bed surface helps ensure a successful print process.
Steps to Apply Kapton Tape for 3D Printing
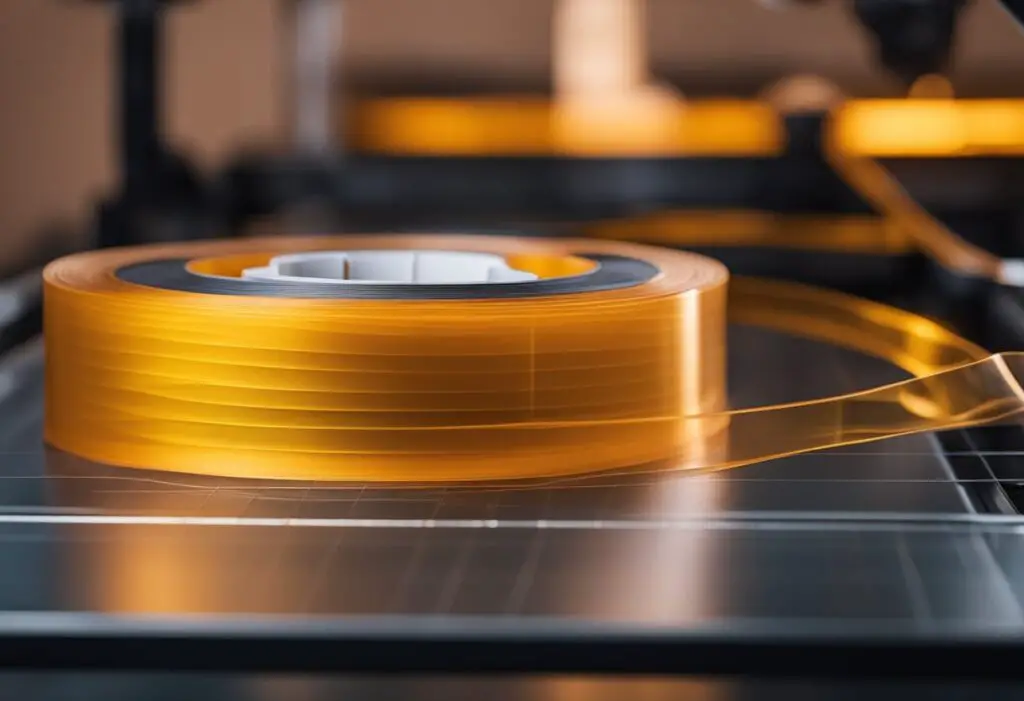
Deciding the Size
When using Kapton tape for 3D printing, it’s crucial to choose the appropriate size.
The polyimide tape comes in various widths, so it’s essential to select a roll that covers your print bed’s entire surface.
An adequately sized tape ensures optimal adhesion and reduces the chances of warping.
Getting Rid of Air Bubbles
Air bubbles can hinder the tape’s effectiveness, so you should work on eliminating them during application.
Position one end of the Kapton tape onto the print bed, then apply a soapy water mixture to the surface to allow smooth movement.
Use a credit card, squeegee, or scraper to press the tape down, starting in the center and smoothing outwards.
This method helps remove any air bubbles and provides a smooth adhesive surface.
Adhering to the Print Bed
When applying Kapton tape, make sure to pay close attention to adhesion. Peel off the backing of the tape and align it with the edge of the print bed.
Slowly apply the tape to the surface, smoothing out wrinkles or bubbles as you go.
Apply enough pressure with your card or squeegee to ensure proper adhesion to the surface of the print bed.
Dealing with Temperature and Warping
Kapton tape has high-temperature heat stability, making it suitable for heated bed applications.
Ensure your bed heater is set at an appropriate temperature to prevent warping issues during 3D printing.
Keep in mind that different materials may require varying temperatures for optimal results.
Cleaning After Application
After applying Kapton tape, it’s essential to clean any residue left by the soapy water mixture or adhesive.
Use a scraper or cloth to gently remove excess adhesive residue from the print bed surface.
Proper cleaning ensures that your 3D printing will have an optimal adhesion to the tape.
How to Handle Various Materials with Kapton Tape
Kapton tape has become a popular adhesive for 3D printing because of its heat resistance and strong adhesion properties.
In this section, we’ll discuss how to work with various materials, including PLA, ABS, TPU, PET, and Buildtak, using Kapton tape.
Working with PLA
PLA is a widely used material in 3D printing due to its ease of use and biodegradable properties.
When using PLA with Kapton tape, clean the print bed with rubbing alcohol or acetone to ensure optimal adhesion.
PLA generally prints at lower temperatures, so it’s crucial to correctly set the temperature to prevent warping and detachment from the bed.
A good starting point is to use a print bed temperature of 60°C.
Using ABS and TPU
ABS and TPU require more careful handling than PLA due to their higher level of heat resistance.
Ensure that the 3D printer bed is adequately heated to avoid issues with adhesion and warping.
When working with ABS, a bed temperature of around 110°C is ideal. Meanwhile, TPU typically prints at a slightly lower temperature of 90°C to 100°C.
Keep in mind that Kapton tape is compatible with both ABS and TPU, with ABS benefitting the most from its use due to its tendency to warp at higher temperatures.
Options for PET and Buildtak
PET is another common material used in 3D printing, known for its strength and temperature resistance.
Buildtak, on the other hand, is a popular build surface for 3D printers. When using PET, Kapton tape can still be applied as an adhesive for better adhesion during printing.
A bed temperature range of 70°C to 90°C is recommended for PET.
For Buildtak surfaces, Kapton tape is generally unnecessary as Buildtak is designed to provide strong adhesion without additional adhesives.
However, if desired, Kapton tape can still be applied to enhance adhesion further. Remember to adjust the bed leveling to account for the added thickness of the tape.
By understanding how to handle various materials with Kapton tape, you can improve your 3D printing results and prevent common issues such as warping and insufficient adhesion.
Always remember to adjust the print bed temperature and level according to each specific material and the presence of Kapton tape.
Tips and Tricks for Using Kapton Tape in 3D Printing
When it comes to using Kapton tape as an adhesive during 3D printing, there are a few helpful tips and tricks to ensure optimal adhesion and print quality on your print bed.
Kapton tape is popular among the RepRap community due to its electrical isolation properties and thermal stability, making it an excellent choice for a bed surface.
Prepping the Print Bed Before applying Kapton tape, it’s vital to have a clean and dry print bed.
Remove any dust, debris, or residual adhesive from the surface, ensuring it’s smooth and ready for the tape.
Some users prefer to clean the bed with a mixture of isopropyl alcohol and water or use acetone for a thorough cleansing.
Applying Kapton Tape: Begin by peeling the backing off one edge of the Kapton tape.
Carefully align it with the edge of the print bed and apply the tape, smoothing out any wrinkles or bubbles.
Use firm pressure to ensure a good bond with the bed surface.
Setting Print Temperatures One of the key reasons for using Kapton tape is its heat stability.
This allows for optimal adhesion during 3D printing, particularly with materials like ABS, TPU, and PET.
To obtain the best results, set your print bed temperature according to the material used.
Additional Adhesives: In some cases, adding more adhesive to the Kapton tape might be necessary for improving adhesion.
This could include using a glue stick, hair spray, or ABS juice. Always test these adhesives on a small section of the tape before applying them to the entire print bed.
Remember, practice makes perfect when using Kapton tape in 3D printing.
With these tips and tricks, you can improve the adhesion and overall quality of your prints, ensuring a successful and enjoyable 3D printing experience.