3D printing has revolutionized the way objects are created and designed. However, as with any technology, it comes with its own set of challenges, one of which is retraction.
Retraction in 3D printing is an essential element in tackling over-extrusion and ensuring clean, professional-looking prints.
Table of Contents
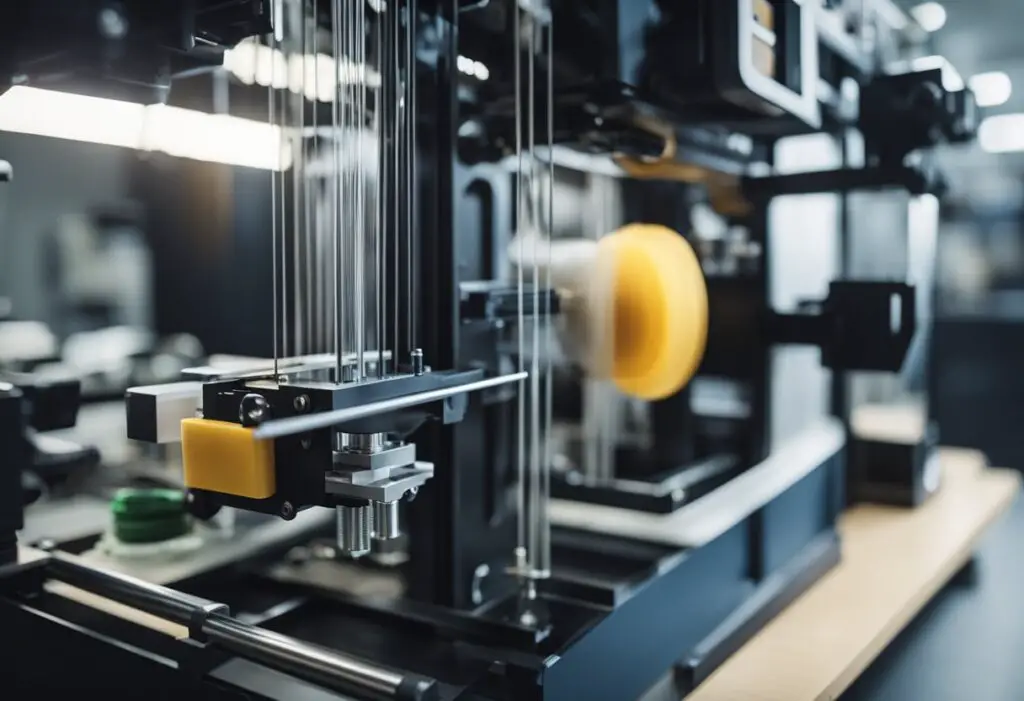
The process involves pulling back or retracting the print head, preventing excess filament from being forced out as the printhead moves between points on the object being printed.
When executed correctly, retraction minimizes stringing and improves the overall appearance of the final product.
By having a deeper understanding of retraction in 3D printing, hobbyists and professionals alike can achieve higher quality prints and minimize potential issues.
Understanding 3D Printing and Retraction
3D printing is a process that creates three-dimensional objects by depositing material layer by layer, following a digital design.
In this complex process, one common issue that many users face is unwanted strands of filament that can occur during printing.
This problem, stringing or oozing, can negatively affect the quality and appearance of 3D-printed objects.
Retraction is a technique used in 3D printing to address the issue of stringing and oozing. When the print head moves from one position to another without depositing material, the filament may still leak out of the nozzle, creating unwanted strings.
To solve this problem, retraction comes into play.
In essence, retraction works by pulling the filament back into the printer nozzle while the print head moves to a different location.
By doing so, it helps prevent filament oozing and thus, stringing issues. There are different types of retraction, including normal retraction and combing retraction.
Each type can be adjusted in terms of speed and length based on the specific requirements of the print job and the type of material being used.
Understanding and adjusting retraction settings is crucial for achieving clean and high-quality prints.
It requires a certain level of expertise and experimentation to find the right balance, as too little retraction may not prevent stringing. In contrast, excessive retraction can lead to other issues, such as under-extrusion.
Therefore, retraction is an essential component in the 3D printing process that helps to minimize unwanted filament strands.
By mastering retraction, users can achieve better-looking and more accurate 3D-printed objects.
Basics of Retraction in 3D Printing
Retraction in 3D printing is a significant process that helps improve print quality by reducing common defects like stringing and oozing.
This process involves the extruder pulling back the filament from the hot end in the opposite direction of its usual operation.
The goal is to minimize unwanted filament extrusion when the print head moves between non-adjacent points.
To effectively optimize retraction, the main factors to consider are retraction distance and retraction speed.
The retraction distance refers to the length of the filament that the extruder pulls back during the process, while retraction speed refers to the rate at which the filament is retracted.
Fine-tuning these settings in your slicer can help prevent excess dripping and stringing, allowing for sharper print details and minimal cleanup.
Properly configuring the slicer’s retraction settings can vary based on the printer’s hardware and the type of filament being used.
To find the optimal settings, it is generally recommended to do a series of test prints. Some slicers provide built-in tests or calibration prints to help you dial in the correct values for your specific configuration.
Besides retraction distance and speed, another factor that can impact the effectiveness of retraction is the minimum travel distance.
This refers to the shortest distance the print head should move before triggering a retraction. Deciding this value depends on the specific geometry of the model being printed.
Having a shorter minimum travel distance will help reduce unwanted filament extrusion on smaller features, while a larger value may be beneficial for models with larger gaps.
In conclusion, understanding and optimizing retraction in 3D printing is essential for achieving high-quality prints with minimal post-processing.
By adjusting retraction distance, speed, and minimum travel distance within your slicer, you can better control filament flow and achieve cleaner prints with fewer imperfections.
Common Problems and Solutions in 3D Printing Retraction
One common issue in 3D printing is stringing, also known as oozing. This problem is characterized by thin strands of unwanted extra filament appearing on the print.
3D printer retraction is a method used to address the stringing problem by withdrawing filament from the hot end while the printer moves between points. This helps prevent excess dripping and ensures a cleaner print.
An important factor to consider in 3D printing retraction is temperature. Higher temperatures can lead to oozing and blobs, while lower temperatures can result in under-extrusion or filament grinding.
Adjusting your 3D printer’s temperature settings can help alleviate these issues, but it may require trial and error to find the optimal temperature for your specific printer and filament.
Another critical aspect of 3D printing retraction is layer height. A smaller layer height provides finer detail and higher print quality but may require more precise retraction settings.
Adjusting the layer height in your slicer software, such as Cura, can help strike a balance between print quality and retraction performance.
Achieving the best retraction settings might require experimentation with print speed and slicer software settings.
Slower print speeds can provide more control over extrusion and help reduce stringing and oozing, while faster speeds can lead to ringing, blobbing, or extrusion issues.
Remember that the optimal retraction settings will likely vary between different 3D printers and filaments.
3D printer retraction is a valuable tool for addressing common 3D printing issues such as stringing and oozing.
To achieve optimal retraction performance, experiment with temperature settings, layer height, print speed, and slicer software adjustments.
By doing so, you can overcome extrusion-related challenges and optimize your 3D printing experience.
Impact of Materials on 3D Printing Retraction
The type of material used for 3D printing has a significant impact on the effectiveness of the retraction process. Different materials exhibit varying properties, which determine the appropriate retraction settings.
In this section, we will explore the influence of various filament types on 3D printing retraction.
PLA (Polylactic Acid) is a popular and easy-to-handle material commonly used in 3D printing.
Due to its lower melting point and relatively low viscosity when molten, PLA filaments require shorter retraction distances and slower retraction speeds than other materials.
The optimal retraction settings may vary, but a good starting point is a retraction distance of 1-5mm and a retraction speed of 30-60mm/s.
ABS (Acrylonitrile Butadiene Styrene) has a higher melting point and viscosity, making it trickier to optimize retraction settings.
To prevent stringing and oozing, the retraction distance for ABS usually ranges between 3-6mm, while the retraction speed may be set between 40-70mm/s.
Nylon is a more challenging material due to its high flexibility and hygroscopic properties. It might require a longer retraction distance of up to 7mm, with a retraction speed of 10-50mm/s.
To achieve proper retraction, it is essential to ensure the nylon filament is adequately dried before usage.
Flexible filaments such as TPU (Thermoplastic Polyurethane) and TPE (Thermoplastic Elastomers) require more attention during retraction due to their elasticity and tendency to stretch.
Retraction settings typically involve slower speeds ranging from 10-30mm/s and shorter distances of 1-4mm. As the optimal settings may vary, it is recommended to perform test prints and adjust the retraction settings accordingly.
In conclusion, the material type plays a significant role in determining the successful implementation of 3D printer retraction.
Each filament type necessitates a unique combination of retraction distance and speed to optimize print quality and avoid defects.
By understanding the material’s properties and adjusting retraction settings accordingly, one can achieve high-quality 3D prints with reduced stringing, oozing, and other imperfections.
Role of Printers and Extruders in 3D Printing Retraction
3D printer retraction is a technique in Fused Filament Fabrication (FFF) 3D printing that aims to minimize issues like stringing, oozing, and other imperfections in printed objects.
It involves the extruder retracting the filament slightly during non-printing movements to prevent leakage and unwanted filament strands formation.
Bowden extruders and direct extruders play a vital role in managing retraction.
The Bowden extruder is a type of extruder that uses a remote feeding mechanism, where the filament is guided through a tube to the print head.
This design allows for lighter print heads, resulting in faster printing speeds and improved precision.
However, the longer distance between the drive gear and nozzle often requires higher retraction settings to prevent stringing and oozing effectively.
On the other hand, the direct extruder has the drive gear and nozzle located close together, allowing for more accurate control of filament feeding and retraction.
This close proximity enables shorter retraction distances and quicker response times.
Direct extruders are typically seen in printers with moving print beds, where the additional weight of the extruder does not have a significant impact on print quality or speed.
Both Bowden and direct extruders have their advantages and disadvantages in 3D printing.
While the Bowden extruder benefits from faster print speeds and reduced print head mass, it may struggle to handle flexible filaments or require higher retraction settings due to its design.
The direct extruder, on the other hand, offers more precise control over filament feeding and retraction but might reduce overall printing speed or increase the print head’s weight.
Ultimately, the choice between Bowden and direct extruders depends on the specific requirements of the 3D printing project and the printer’s capabilities.
Retraction settings will vary between these extruder types, but both play a crucial role in managing the 3D printing retraction process for optimal print quality.
Complementary Settings for Successful 3D Printing Retraction
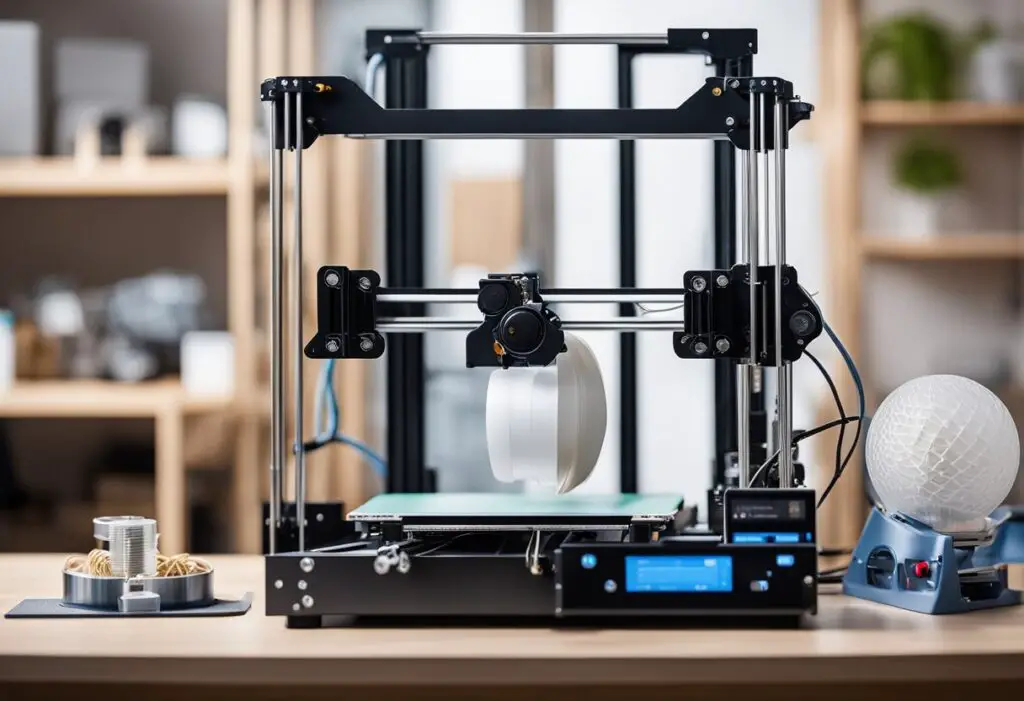
To achieve successful 3D printing retraction, it is essential to consider various settings that complement retraction tuning.
These include temperature, retraction length, extruder type, slicer configurations, and other features. By optimizing these variables, you can minimize print imperfections and achieve cleaner, more precise prints.
Temperature settings play a crucial role in the retraction process. Properly calibrated hot end and heated bed temperatures can reduce ooze, stringing, and blobs.
For instance, printing at a slightly lower temperature makes the filament less fluid, therefore reducing the likelihood of unwanted leaks.
Another important setting is the retraction length, which is the distance the filament is pulled back during retractions. Adjusting this value depends on the type of extruder you have: direct drive or Bowden.
Direct drive extruders usually require shorter retraction lengths, around 1-2mm, while Bowden setups often use 4-6mm. The popular Ender 3 series has a Bowden extruder and, therefore, might require a longer retraction length.
Slicer settings also contribute to retraction success. Adjusting the minimum displacement, or the distance the nozzle must travel before a retraction, can help reduce unneeded retractions, improving print time and quality.
Enabled combining is another setting to consider, as it prevents the nozzle from moving over holes, reducing residue on finished parts.
A significant factor in achieving successful retractions is Z-axis elevation when retracted. By raising the nozzle slightly during retraction it can help avoid dragging the nozzle across the print, leaving a cleaner finish.
Various print parameters, such as cooling, printing speed, and travel speed, influence the retraction process. Increased cooling helps solidify the filament faster, reducing oozing and minimizing the need for retraction.
On the other hand, reducing printing and travel speeds gives the filament more time to cool down, allowing for better adhesion.
Lastly, test prints and infill settings can help to fine-tune retraction settings. Optimized infill patterns can provide adequate support while respecting the overall retraction process.
Performing multiple test prints allows users to identify the best settings for their specific printer and filament, ultimately achieving optimal print quality.
Practical Aspects in Optimizing 3D Printing Retraction
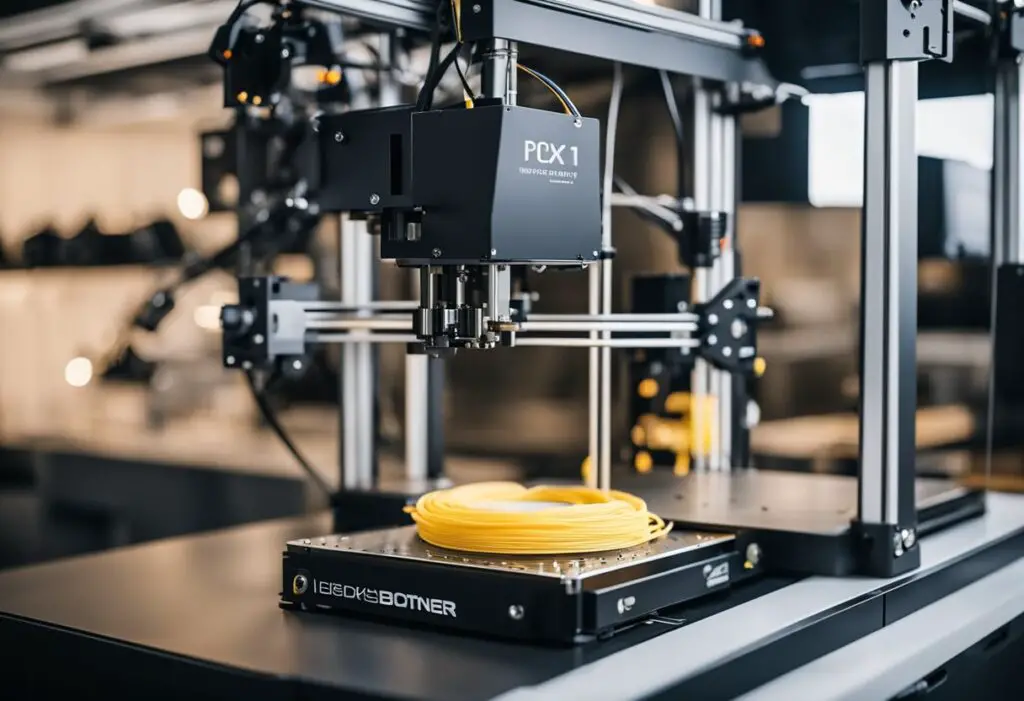
3D printing retraction is crucial in producing high-quality prints by reducing stringing and excess filament leakage during printing.
Optimizing retraction settings allows users to balance factors such as printing time, aesthetics, and structural integrity while minimizing potential issues such as warping and under-extrusion.
One aspect to consider when optimizing retraction is the printing time. Retraction speed and distance can be adjusted to minimize the time spent on filament withdrawal, allowing for more efficient and faster 3D printing.
Experimenting with variations in retraction speed and distance can help users find the sweet spot between reducing stringing and maintaining print speed.
In terms of aesthetics, a well-tuned retraction setting can significantly improve the appearance of the final print. By preventing stringing and oozing, the surface finish of the print will be smoother and more polished.
Achieving the right balance between aesthetics and the structural integrity of the print is crucial when creating objects that require minimal support structures.
Support structures are another element affected by a finely-tuned retraction setting. Reducing stringing and oozing aids in the accurate formation of these structures.
The settings can also impact layer bonding – preserving the overall strength and durability of the print.
Warping and under-extrusion are common issues caused by the movement of the nozzle between different parts of a print.
By adjusting retraction settings, users can help prevent these problems and achieve high-quality prints with minimal imperfections.
A well-configured retraction is vital when combining multiple models in a single print. Filament retraction ensures accurate transitions between models, creating a cohesive final object.
Users often turn to platforms like Thingiverse to find complex models that require optimized retraction settings.
Lastly, using a skirt can be beneficial for identifying potential retraction issues early during a print and making adjustments as necessary.
Printing a skirt before the primary model allows users to gauge the effectiveness of their retraction settings and make any necessary tweaks to achieve the best result.
In summary, optimizing 3D printing retraction considers several factors, including print time, aesthetics, support structures, layer bonding, and warping.
By fine-tuning these settings, users can ensure they achieve high-quality prints with fewer imperfections.


