In the world of 3D printing, understanding different settings and parameters is crucial for achieving the desired result.
One such essential aspect to consider is the wall line count, which directly impacts the strength and appearance of the final print.
This article aims to provide insight into what wall line count is and its significance in 3D printing.
Table of Contents
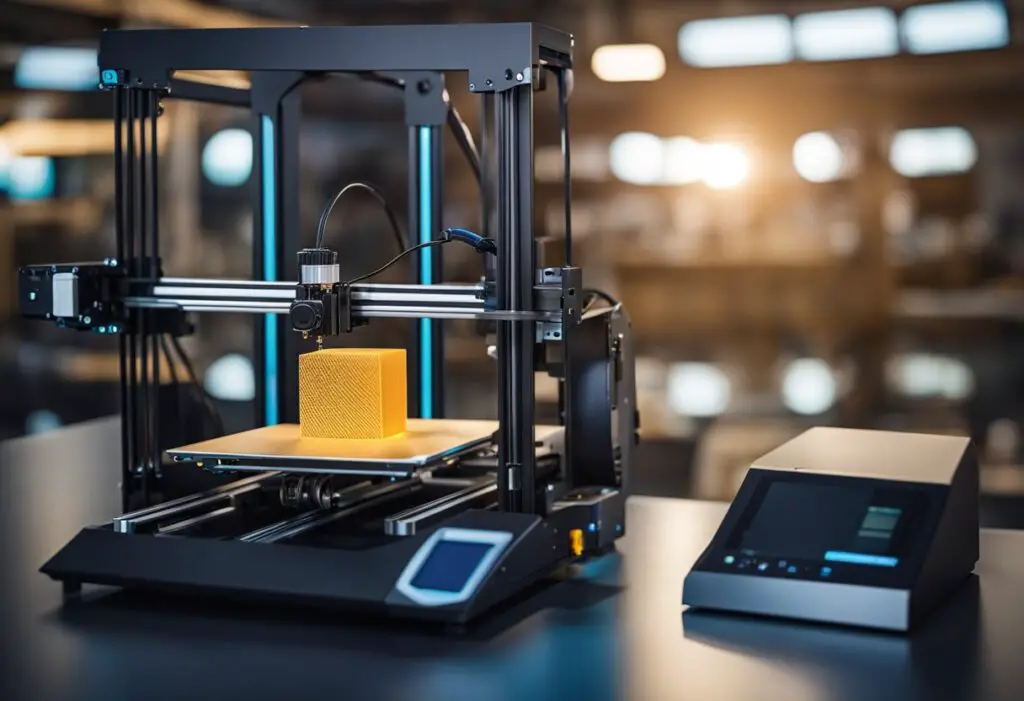
The wall line count refers to the number of outer layers or “shells” that make up the walls of a 3D-printed object.
This parameter influences the object’s overall durability, stability, and print time.
A higher wall line count yields a sturdier object, while a lower count can significantly reduce print duration and material costs.
It’s essential for designers and enthusiasts alike to grasp the concept of wall line count and make appropriate adjustments based on the object’s purpose, be it for decorative or functional use.
Stay tuned to learn the ins and outs of wall line count and enhance your 3D printing skills.
Understanding Wall Line Count in 3D Printing
Wall line count in 3D printing refers to the number of inner and outer walls that form the shell of a printed object.
It plays a crucial role in determining the print’s strength, durability, and filament usage.
Understanding wall line count characteristics can help you optimize your 3D print settings and achieve the desired consistency in the final product.
In general, the wall thickness of a 3D print should be a multiple of the nozzle diameter.
For example, if a 3D printer uses a 0.4mm nozzle, the shell thicknesses could be 0.8, 1.2, 1.6, and so on.
Increasing the wall line count can result in a sturdier print but could also lead to higher material usage and longer printing times.
Wall line counts can be easily calculated by dividing the print’s wall thickness by the wall line width.
For instance, if the desired wall thickness is 1.6mm and the wall line width is 0.4mm (nozzle width), the wall line count would be 4.
Adjusting the wall line count is useful when focusing on specific areas of the print that need to be reinforced or have more resistance against external forces.
However, adding more walls to parts that require precision could potentially alter the shape, affecting the print’s overall functionality.
When choosing the appropriate wall thickness, it is essential to consider the type of object being printed.
For decorative objects that do not require high strength, a wall thickness of 0.4 to 1.6mm is typically recommended, with an emphasis on material usage and print time considerations.
On the other hand, sturdy objects that need to withstand external forces would benefit from a wall thickness ranging from 2 to 4mm, focusing more on durability and structural integrity.
Understanding and adjusting wall line count in 3D printing can help improve the overall print quality and performance, ensuring that the final object meets its intended purpose.
By finding the right balance between material usage, print time, and structural integrity, you can optimize your 3D prints and cater to specific needs.
Fundamentals of 3D Printing Walls
In 3D printing, creating sturdy and well-defined walls is essential for achieving a high-quality print.
One of the crucial aspects to consider is the wall line count, which refers to the number of perimeters or concentric lines used to form the walls of a printed model.
Understanding how wall thickness, line width, and other factors contribute to a model’s solidity can improve your prints significantly.
Wall thickness is typically determined as a multiple of the line width, which is influenced by the printer’s nozzle size.
For example, using a 0.4 mm nozzle, common wall thickness values may range from 0.8 to 1.6 mm for decorative objects and 2 to 4 mm for sturdier models.
Establishing sufficient wall thickness helps prevent gaps and improves the overall structure of the object.
Configuring the line width influences the wall line width, which in turn affects the width of the inner wall, outer wall, and outermost wall in a model.
Typically, the line width is chosen as a value between 2 and 4 times the nozzle diameter. This allows for more robust walls and reduced chances of leaking.
On the other hand, choosing a smaller multiple can decrease print time and filament cost.
The number of walls or shell thickness in a model further impacts its solidity.
While increasing the number of walls might seem like a logical solution, excessive wall layers can lead to a relatively bulky and resource-consuming print.
As a rule, two to three times the line width is sufficient for most objects, balancing durability and material usage.
Therefore, determining the appropriate parameters for your 3D printing walls, such as wall thickness, line width, and wall line count, is essential for achieving optimal results.
Balancing these factors ensures a model that is both structurally sound and efficient in material usage.
Keep experimenting with different settings to find the perfect balance for your specific 3D printing projects.
Role of Slicers in Determining Wall Line Count
Slicers play an essential role in the 3D printing process, as they convert 3D models into instructions that the printer can understand.
One crucial aspect that slicers handle is determining the wall line count. Wall line count refers to the number of inner and outer walls in the print’s shell.
In the 3D printing world, Cura is a popular slicer software that provides a wide range of settings, including wall line count and line width value.
It calculates the wall line count by dividing the print’s wall thickness by the wall line width.
Typically, the default line count in Cura is 2, consisting of one inner and one outer wall.
Line width value is another significant slicer setting that contributes to the quality of the print.
It determines the thickness of a single extrusion line and impacts the overall wall thickness.
By choosing an appropriate line width value, users can ensure that their prints have the desired level of sturdiness, finish, and detail.
For instance, a smaller line width value will create finer details, while a larger one increases the object’s strength.
Choosing the right slicer settings requires a balance between multiple factors, including the object’s intended use and desired appearance.
In general, decorative objects may have a wall thickness ranging from 0.4 mm to 1.6 mm, while sturdy objects have a higher wall thickness, between 2 mm to 4 mm.
Additionally, it is essential to ensure that the wall thickness is a multiple of the nozzle width to achieve optimal results.
In conclusion, slicers such as Cura play a significant role in determining the wall line count and other essential parameters in 3D printing.
By effectively understanding and adjusting these factors, users can create high-quality prints that meet their specific requirements.
Impact of Nozzle and Filament on Wall Line Count
Various factors, including the nozzle diameter, filament type, and layer height, influence the wall line count in 3D printing.
It is essential to understand their relationships to optimize print quality, strength, and printing time.
Nozzle diameter plays a significant role in determining wall line count.
A larger nozzle diameter, like a 0.6mm or 0.8mm nozzle, leads to thicker walls and fewer required wall lines to achieve optimal part strength.
On the other hand, a smaller nozzle size such as a 0.4mm or 0.25mm nozzle leads to thinner wall lines.
To maintain a sufficient level of strength or quality, more wall lines may be needed.
Selecting the appropriate nozzle size has a direct impact on wall line count and, consequently, print duration and material usage.
Filament type is also a significant factor, as different materials have distinct properties.
Some filaments, like PLA and ABS, are rigid and comparatively strong, requiring fewer wall lines to attain a sturdy printed object.
On the opposite end of the spectrum, materials like TPU and PETG are more flexible and may necessitate more wall lines to provide optimum stability.
Layer height is another aspect to consider while determining the wall line count.
A smaller layer height generates finer resolution prints, but it demands more layers to complete the object.
Using a more considerable layer height can speed up the printing process, but it can sacrifice detail and surface smoothness.
Balancing these factors is essential when choosing layer height and wall line count suitable for the desired print quality and speed.
In summary, adjusting the nozzle diameter, filament type, and layer height can influence wall line count in 3D printing.
Understanding and optimizing these elements contribute to achieving better prints in terms of quality, strength, and printing efficiency.
Balancing Quality and Efficiency in 3D Printing
When it comes to 3D printing, striking the right balance between quality and efficiency is essential.
Every project has different requirements, and understanding how to adjust settings for a particular outcome can save print time while maintaining quality.
One factor to consider in achieving this balance is wall line count.
Wall line count dictates the thickness of an object’s outer shell or walls, which affects both the object’s strength and its aesthetics.
For instance, a decorative vase may require a thinner wall for elegance, while a sturdier object, like a functional part, needs thicker walls for added strength.
Adjusting the wall line count impacts print time; higher values lead to longer print times but better exterior quality.
However, there is a trade-off: more extensive wall line counts can affect the object’s precision, making it unsuitable for specific tasks or applications.
To find the sweet spot, experiment with the wall line count while considering the project’s end-use.
Another technique to balance quality and efficiency is using “vase mode.” In vase mode, the printer extrudes a continuous loop to create a single, thin exterior wall.
This method reduces print time significantly and is ideal for creating vases or other decorative items with smooth, even surfaces.
When choosing a 3D printer, it is essential to pick one that allows for versatility and ease of use.
For example, the Ender 3 is an affordable and popular option, as it offers a user-friendly interface and customizable settings, allowing users to find the correct balance between speed and quality.
It is crucial to consider wall line count, printer settings, and project goals while working on 3D printing projects to achieve the best balance between quality and efficiency.
By adjusting these factors appropriately, users can optimize their prints and ensure that their final products meet their expectations while keeping print time to a minimum.
Infill and Wall Line Count: Ensuring Durability and Strength
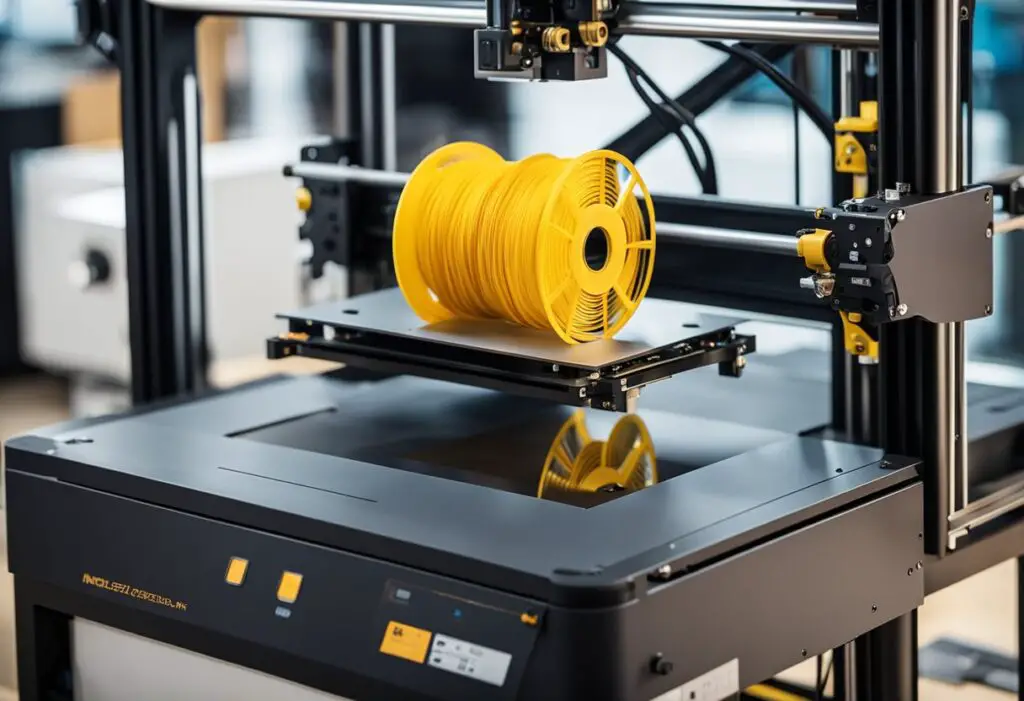
In 3D printing, achieving the right balance between strength and durability depends on several factors, including infill percentage and wall line count.
Understanding these variables can help in creating sturdier and more reliable printed objects.
Infill refers to the interior structure of a 3D printed object, typically represented by a percentage that indicates its density.
Higher infill percentages can increase the strength of a print. However, anything beyond 70% usually has a lesser impact on strengthening the print and instead significantly increases filament use, printing time, cost, and burden on the 3D printer.
Wall line count, on the other hand, refers to the number of layers, or shells, that make up the walls of a 3D-printed object.
A higher wall line count contributes to stronger prints. For instance, the default wall thickness in Cura is 0.8mm, which is considered minimal for standard 3D prints.
For prints that need more durability, a good wall thickness would be around 1.6mm and above. A recommendation is to use at least three walls for increased strength.
Layer height also plays a crucial role in balancing strength and durability.
A lower layer height can lead to higher print resolution, improving the chances of preventing leaks and increasing overall stability.
Infill patterns and skin can affect the flexibility and interior strength of 3D-printed objects.
Different infill patterns, such as honeycomb or gyroid, can provide various levels of rigidity and support.
The skin, comprising top and bottom layers, should have sufficient thickness to reduce the chance of leaks and improve the print’s appearance.
Lastly, the type of material used for 3D printing, such as PLA, can influence the strength and durability of the final object.
Some materials offer more flexibility and better resistance to wear and tear than others.
In conclusion, to ensure durability and strength in 3D printed objects, it is essential to consider the interplay between factors like infill percentage, wall line count, layer height, infill pattern, skin, and material choice.
A careful balance among these variables can lead to sturdier and more reliable 3D prints.
FAQs on Wall Line Count
What is the best wall line count for 3D Printing?
The ideal wall line count for 3D printing depends on the specific requirements of the object you are printing.
Generally, a wall thickness of two or three times the line width is sufficient. If you need a sturdier model, try increasing the line count.
For reduced print time and filament costs, consider lowering the value.
What is the best wall count in Cura?
In Cura, the wall thickness is determined by the product of the wall line count and the wall line width.
For instance, a 1.2mm wall thickness can be composed of 3 wall lines, each 0.4mm wide.
When choosing the best wall count, consider factors such as the object’s purpose, required strength, and desired visual appearance.
Best wall line count for Lithophane?
For lithophanes, a higher wall line count is recommended to show the detailed design.
A range of 3 to 6 wall lines should provide adequate detail.
You may experiment with different line counts to find the best balance between print time and level of detail.
Best wall line count for PETG?
PETG, similar to PLA, benefits from a wall thickness of around 1.2mm.
For aesthetic prints, a wall thickness of 0.8mm is sufficient, while prints with higher strength requirements may need a wall thickness of 1.2-2mm.
What should my wall line count be using Ender 3?
Ender 3 is a versatile printer and can handle various wall line counts.
The best wall line count for your print depends on factors such as filament type, print speed, and object requirements.
Generally, a wall line count that results in a thickness equal to two or three times your line width should suffice.
What is the wall line count strength?
A higher wall line count increases the strength of your 3D prints. It also reduces the likelihood of leaks and warping.
A lower wall line count can decrease print time and filament costs but may result in less sturdy prints.
How to set the wall line count in Cura?
In Cura, navigate to the settings menu and select “Shell.” From there, adjust the “Wall Line Count” and “Wall Line Width” to control wall thickness.
How to set the wall line count in Prusa Slicer?
In Prusa Slicer, go to the “Print Settings” tab on the right side. Under the “Layers and perimeters” section, adjust the “Shell-Perimeters” setting to control the wall line count.
What is a good brim line count?
For prints requiring a brim to improve adhesion, a brim line count between 5 and 20 is a good starting point.
Adjust the count based on your specific print and material requirements.


